If you’re visiting this page there’s a good chance you are looking to get crafty and make your very own light up fairy jar. So exciting! I had a great time making this with my Mom and putting our own spin on frosting the glass. Sparkle Mod Podge is the secret!
Inspiration
This fairy jar project is inspired by catching fireflies in jars and keeping them for a short time before releasing them back into the night sky. Please enjoy my tutorial and hope you have a wonderful time making something magical while spending time with someone special.
I caught a fairy in a jar I told her not to cry I’d only keep her for a day And then I’d say goodbye – Ingrid Olina
Material List
- Clear mason jar
- Mod Podge – Sparkle
- Mod Podge – Matte Clear Acrylic Sealer
- Sponge or paintbrush
- Fairy cut outs (Purchased from Etsy)
- Moss
- Battery operated tea lights
- Glitter
- Twine
- Silk Leaves to decorate
Step 1 – Sparkle
- Mod Podge sparkle is amazing!
- Select one of your fairy cut outs for your jar.
- Remove the lid from the jar.
- Position the fairy inside the jar and about 1″ from the bottom.
- Imagine the fairy is sitting on a soft bed of moss.
- Pour some Mod Podge Sparkle into a little dish and get your sponge out.
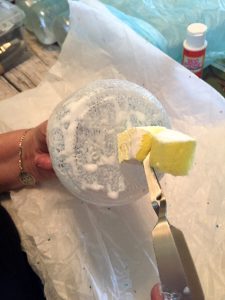
- Dip the sponge into the Mod Podge Sparkle and cover the fairy so that it now sticks to the inside of the jar. Don’t glob too much on the inside, just enough to glue the fairy down.
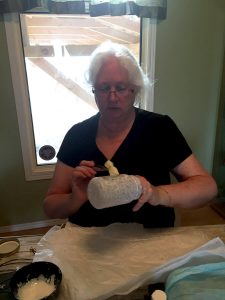
- Sponge lightly all over the outside of the jar.
- You can hold the inside of the jar with your fingers so you don’t smudge the Mod Podge.
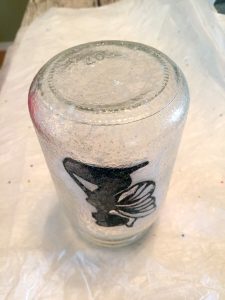
- Don’t forget the bottom!
- Let dry for 1-2 hours.
- Apply another coat for extra frosty glitter goodness!
- Set the jar upside down to dry.
- Position fairy inside jar
- Glue fairy inside jar
- Mod Podge Sparkle
- Add sparkle to bottom
- Look at mom go!
- Let jar dry
Step 2 – Seal it
- Spray your jar with Mod Podge – Matte Clear Acrylic Sealer for a smooth finish.
- This removes the stickiness and protects the Mod Podge glitter from rubbing off.
- Mom is a Mod Podge master!

Step 3 – Moss
- Use your sponge and coat the bottom of the jar with more Mod Podge or any type of white glue.
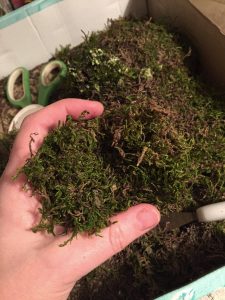
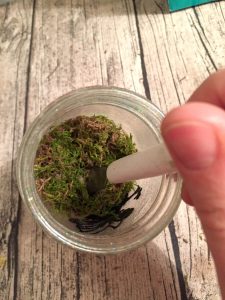
- Select a handful of preserved moss. I like to shape mine into a little nest so it’s easier to place inside the jar.
- Use a spoon or another tool that you can press down the moss and make sure it sticks to the bottom of the jar.
- Look at the outside of the jar and make sure you have enough moss for your fairy to sit on.
- Not enough moss and it will look like your fairy is hovering above the moss.
- Add glue to bottom of jar
- Grab some fairy moss
- Add moss to fairy jar
Step 4 – Decorations
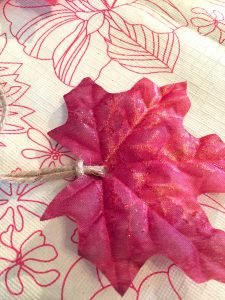
- Choose a pretty leaf to add around the lid of the jar.
- Punch a hole at the base of the leaf to thread your twine through.
- Cut about 18″ of twine
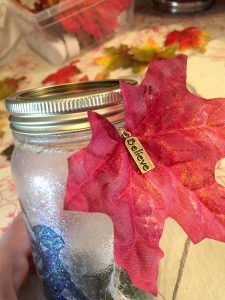
- Tie a slip knot through the leaf and tie the other ends of the twine around the jar.
- Tie in a bow or let the ends hang loose.
- Add a charm with a split ring for an extra detail.
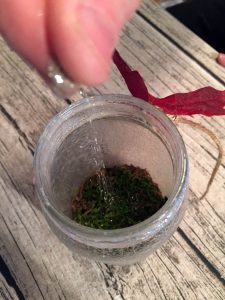
- Sprinkle some fairy dust inside the jar for your fairy before adding the final touch.
- Tie twine to leaf
- Add leaf and a charm
- Sprinkle fairy dust inside jar
Step 5 – Fairy Light
- Drop in a battery powered tea light.
- White flickering lights look the most natural but feel free to add any colour you like depending on the type of fairy that you have in your jar.
- Look at that sparkle!

Beautiful!
You’ve made a sparkly little home for your fairy. Enjoy the warm flickering glow of fairy light and display it on a shelf or coffee table. Fairy jars make wonderful gifts for those that believe in magic and see the beauty in this world. Hope you enjoyed this fairy jar tutorial by The Forest Fairy. Believe*~


